
Last updated November 15, 2026
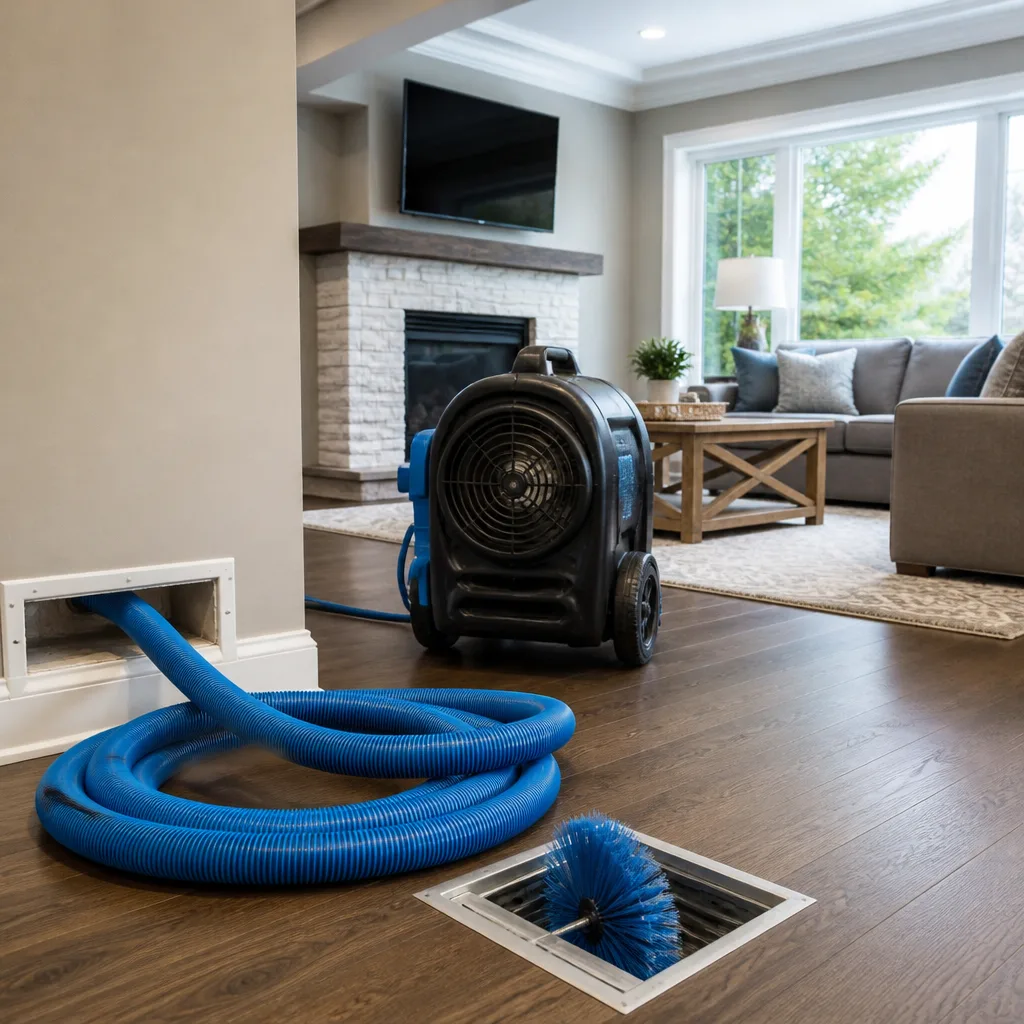 Whole-home duct cleaning
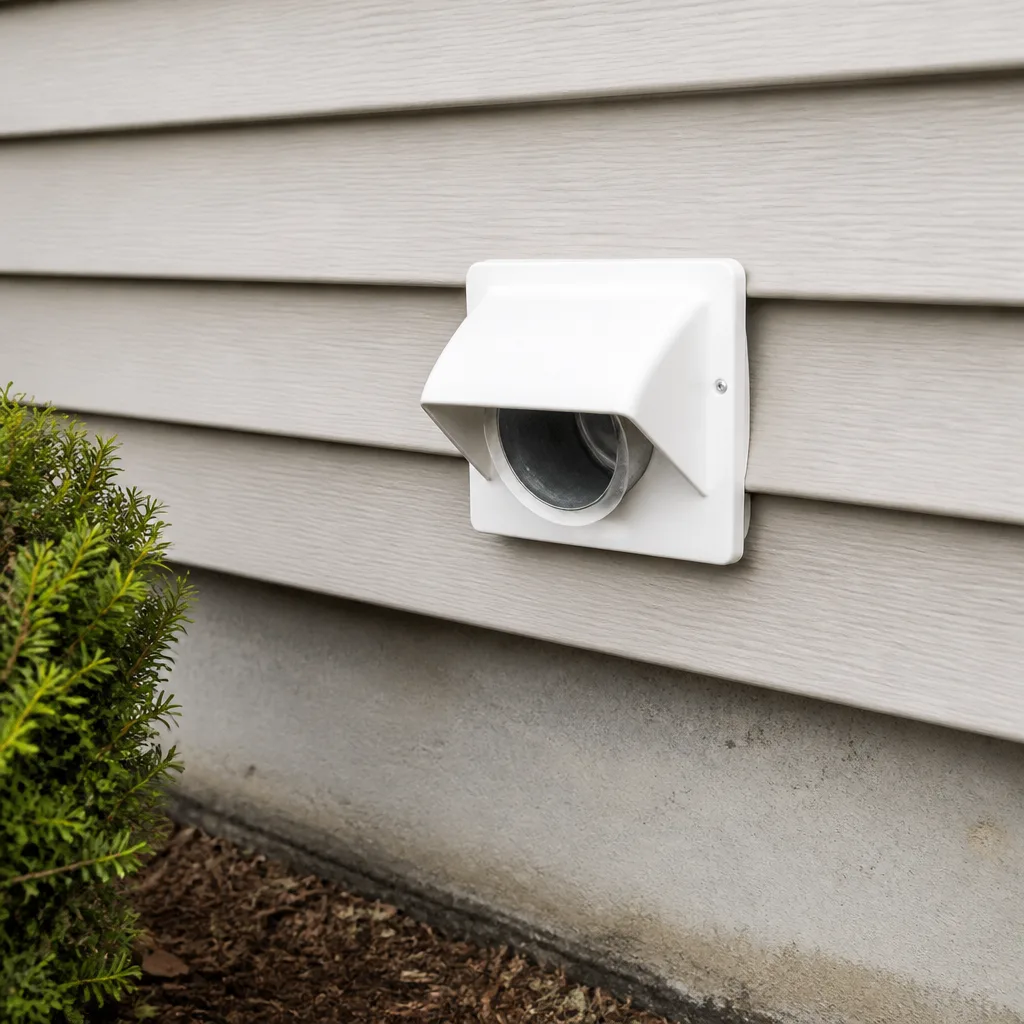 Dryer vent cleaning
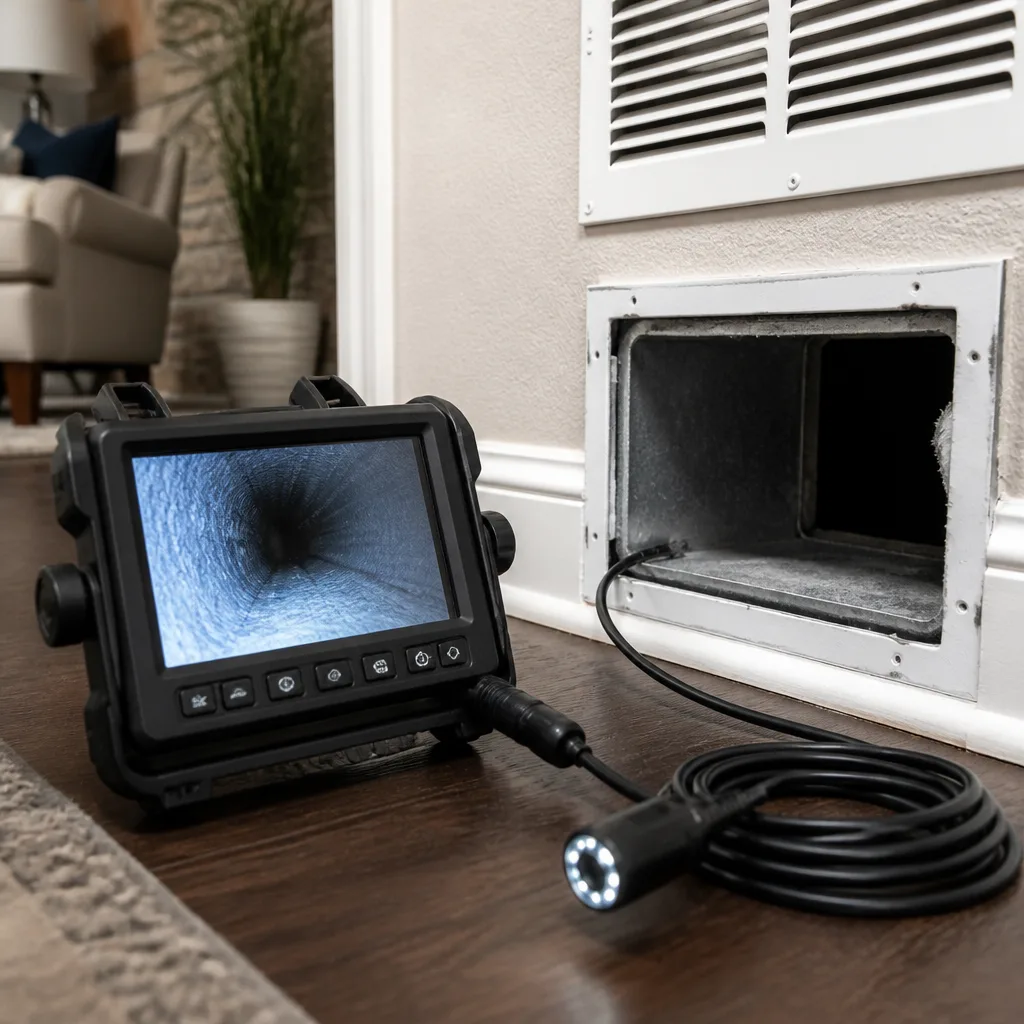 Camera inspection
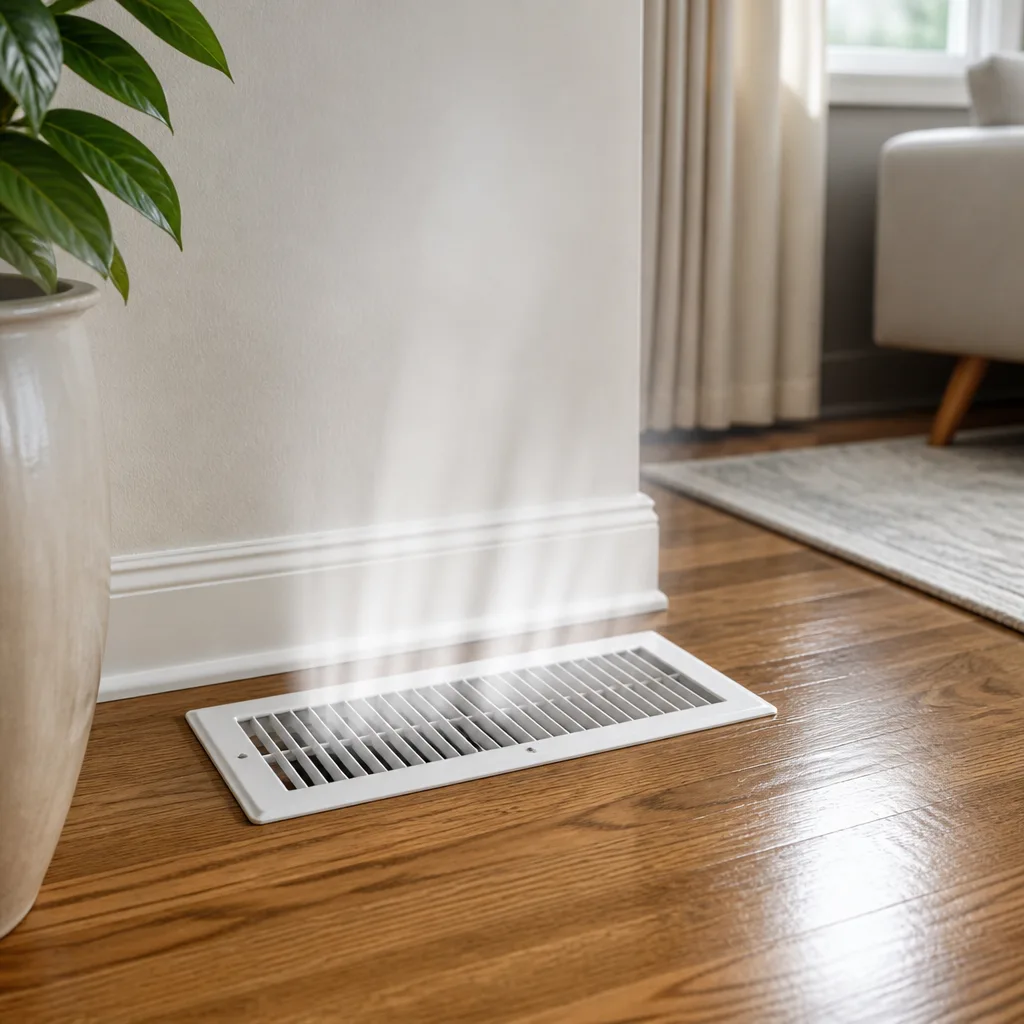 Sanitizing & deodorizing
Whole-system duct and dryer vent check with before-and-after photos - you see exactly what came out of your vents
That "$99 whole-house special" is a bait ad - the real number appears once they are in your hallway, or the "clean" is a shop-vac at the register. We photograph the inside of your ducts before and after instead.
DIY vs Professional Air Duct Cleaning: The Richardson Homeowner’s Decision Guide
Here’s the part most DIY guides skip. A vacuum’s suction isn’t the number that matters when you clean ducts. Static pressure is. A standard shop vacuum pulls somewhere between 1 and 2 inches of water column. Commercial duct cleaning equipment generates 8 to 12. That gap decides everything: whether the debris you loosen gets captured at the source or pushed back out of the registers and into the air your family is breathing. Many Richardson homeowners start a DIY duct cleaning to save money and end up spreading contamination deeper into the system. This guide explains the equipment physics honestly, shows you what you can safely maintain yourself, and helps you decide when a Richardson home truly needs a professional.
Quick Answer
For light surface dust and register grilles, DIY maintenance is fine and worth doing. For the interior of the duct system itself, DIY air duct cleaning in Richardson usually does more harm than good, because residential vacuums can’t hold the negative pressure needed to capture debris once it’s dislodged. Professional cleaning with purpose-built equipment is the only way to remove contamination from inside the ducts without redistributing it through the house.
Styles & brands we work with
- Whole-home duct cleaning
- Dryer vent cleaning
- Camera inspection
- Sanitizing & deodorizing
Table of Contents
- Why Equipment Physics Decide This Question
- What You Can Legitimately Do Yourself in Richardson
- How DIY Attempts Make Contamination Worse
- The Tools a Professional Brings That You Can’t Buy
- How to Do the Cost Math Honestly
- What Makes Richardson Duct Systems Different
- A Step-by-Step Way to Decide
- When You Need Repair, Not Just Cleaning
Why Equipment Physics Decide This Question
Duct cleaning isn’t really a scrubbing task. It’s a containment task. The moment a brush or air whip disturbs the dust layer clinging to the inside of a duct, that material becomes airborne. Whether it leaves through the vacuum or through your registers depends entirely on how much negative pressure the system can hold against the leaky ductwork around it.
A typical residential shop vacuum can’t hold much. Its motor is built for short bursts of suction through a narrow hose, not for pulling a sustained vacuum on an entire duct run. Even a strong household vacuum loses most of its pull the moment it’s connected to a duct system with joints, seams, and flex sections that leak. In practice, you’re creating disturbance without real capture.
Professional equipment works differently. A Nikro HEPA-rated vacuum system is engineered to hold meaningful negative pressure on the duct network while cleaning happens, so loosened debris moves toward the vacuum, not out into the room. The Rotobrush rotary-brush system agitates the duct wall from the inside while that vacuum is running, which is why the two are used together. Neither one does the job alone.
That’s the core reason the DIY question isn’t about whether you’re handy enough. It’s about whether your equipment can do the thing professional equipment is designed to do. Most of the time, it can’t. If you want to understand how professionals sequence this work inside a home, the overview of air duct cleaning walks through the process in detail.
What You Can Legitimately Do Yourself in Richardson
Not everything about duct maintenance requires a professional. Being honest about that matters, because a company that tells you nothing is safe to touch yourself is really just selling. There are real, useful tasks a Richardson homeowner can handle.
Register and return grille cleaning. The grilles and screw-on covers at each vent collect dust on their surfaces. Removing them, washing them in warm soapy water, drying them completely, and putting them back is straightforward and helps airflow. It’s a surface job, though. Cleaning a grille doesn’t clean the duct behind it.
Filter upgrades. If your system uses a standard 1-inch filter, fitting the correct size and changing it on a sensible schedule is one of the highest-value things you can do. MERV ratings matter more than brand names here. Match the filter to what your system can actually pull through it, since an overly restrictive filter stresses the blower.
Visual inspections. With a flashlight you can look into accessible registers, check for obvious gaps at joints, and notice whether grilles are loose or disconnected. Noticing a problem early is genuinely useful.
Dryer vent surface checks. Removing lint from the trap and the area behind the dryer is a habit every household should keep. That said, the interior of the dryer vent run is a different matter, and it deserves a separate look. Our dryer vent cleaning page explains why that line is treated as a fire-safety item rather than routine maintenance.
Here’s the line to hold: surface cleaning and filtration are yours. The inside of the duct system is where the equipment gap starts.
How DIY Attempts Make Contamination Worse
This is the part that surprises people. A DIY duct cleaning attempt rarely fails quietly. It usually leaves the home worse than it started, at least in the short term.
When you insert a vacuum hose or a shop-vac brush into a register and turn it on, you’re disturbing the settled dust layer inside the duct. Without real negative pressure to pull that material toward a capture point, much of it goes into the air. It drifts out of nearby registers or gets pulled into the return and blown back through the supply side of the house.
We’ve seen this pattern often enough in Richardson to describe it plainly: a homeowner notices more dust settling on furniture a day or two after a DIY attempt, or a musty smell gets stronger rather than weaker. That isn’t a coincidence. The contamination is now airborne and better distributed than before.
Three specific ways DIY goes wrong:
- Recirculation. Loose debris that can’t be captured ends up moving through the system and settling again, sometimes in harder-to-reach areas.
- Flex duct damage. A rigid brush or a too-aggressive hose can tear the inner liner of flex duct, which then becomes a trap for future debris and a leak point.
- Dislodged connections. Pulling on a duct to insert equipment can loosen a taped or mastic joint, opening a leak that didn’t exist before.
None of these outcomes is catastrophic, but each one turns a would-be cleaning into a repair job. If a joint does come loose, that’s the point where duct cleaning in Richardson professionals would typically inspect and reseal before cleaning continues.
The Tools a Professional Brings That You Can’t Buy
There’s a reason the professional side of this trade uses specific equipment rather than hardware-store gear. The tools exist because duct cleaning has real physical requirements, and generic vacuums don’t meet them.
Rotobrush rotary-brush systems. These are built to fit inside residential ductwork and rotate a brush head against the duct interior while a hose pulls material back. They’re purpose-built for the job, not adapted from something else.
Nikro HEPA-rated vacuum systems. These provide sustained negative pressure with HEPA-level particulate capture. The HEPA rating matters: it means what gets pulled in stays in, rather than being exhausted back into the room.
Abatement Technologies air filtration equipment. This is the same category of equipment used in professional contaminant and remediation work. Deployed during cleaning, it keeps indoor air quality protected while the work is in progress.
Air duct repair capability. Most cleaning-only companies stop at cleaning. Sealing, patching, and reconnecting duct sections is a separate skill set, and it matters because a duct system with leaks will just re-contaminate itself. Repair work on compromised ductwork is a real part of the trade that homeowners rarely see.
None of these tools have a consumer-grade equivalent you can buy at a hardware store or rent for a single job. That’s not a marketing point, it’s the actual reason professional cleaning produces a different result.
How to Do the Cost Math Honestly
DIY duct cleaning looks cheaper on paper. Whether it actually is depends on what happens next.
Start with what a DIY attempt costs you: a shop vacuum, brushes or attachments, time, and the filter you replace afterward. That’s the visible cost. The hidden cost appears when the attempt doesn’t work and a professional visit is still needed, plus possibly a duct repair on top.
Then consider what professional cleaning addresses in one visit. It removes contamination from the whole system, not just the reachable portions. It verifies with before-and-after photos of your own ducts, so you can see what changed. And if the ducts have openings or disconnected sections, the repair can happen in the same appointment, which is where the real savings live.
Here’s the honest framework for deciding:
- Is the contamination surface-level only? If it’s dust on grilles and filters, DIY is fine.
- Has it been years since the system was serviced? Long gaps usually mean deeper buildup that DIY can’t reach.
- Are there symptoms beyond dust? Musty odors, uneven airflow, or allergy flare-ups point to interior contamination.
- Has a DIY attempt already happened? If dust increased afterward, the system likely needs professional cleaning now.
- Are there visible leaks or loose joints? That’s a repair question, not a cleaning one.
If several of those point toward professional help, the decision is fairly clear. If none do, you can reasonably keep up with DIY maintenance for now.
What Makes Richardson Duct Systems Different
Richardson’s housing stock and climate shape how duct systems age and collect debris. Knowing the local pattern helps you judge your own system more accurately.
Many Richardson homes were built during the mid-century suburban expansion, and their duct layouts reflect the construction norms of that era. Original metal ductwork in older homes often has taped joints that have loosened over time, and some homes have had duct sections replaced or extended during remodels. Those additions can leave mismatched duct types sitting side by side, which changes how cleaning has to be approached.
The North Texas climate plays a role too. Hot summers mean the air conditioner runs long hours, pulling household dust, pollen, and lint into the return grille continuously. Mild winters don’t give the system the same seasonal break that colder regions experience. Over years, that continuous airflow deposits a measurable layer on the duct walls that a surface vacuum can’t remove.
Richardson’s tree cover adds another layer. Pollen season is real here, and homes near mature trees tend to pull in more airborne particulate through the return. If you notice seasonal allergy symptoms that seem worse inside the house than outside, that’s worth taking seriously.
For homeowners in any part of the Richardson area, the practical takeaway is the same: check your duct joints visually, note the age of the system, and pay attention to how the air feels during peak cooling season. If things feel off, the guide below helps you decide next steps.
A Step-by-Step Way to Decide
Here’s a practical checklist. Walk through it in order and the answer usually becomes clear.
- Inspect your accessible grilles and registers. Remove a few, wash them, and look inside the duct with a flashlight. Heavy buildup visible just inside the register is a sign of deeper contamination.
- Check the return air grille and filter. If the filter is dark and clogged well before its replacement date, the system is pulling a lot of particulate from the home.
- Note any odors. A musty or stale smell that lingers when the system is running points to moisture or organic buildup inside the ducts.
- Watch for uneven airflow. Rooms that never seem to get enough air, or that heat and cool unevenly, can indicate blockages or disconnected duct sections.
- Look for visible damage. Loose tape, sagging flex duct, or disconnected sections at accessible joints are repair flags.
- Ask when the last cleaning happened. If you can’t remember, that alone is a good indicator it’s time for a professional assessment.
If steps one through five raise two or more flags, professional cleaning makes sense. If only step six does, a professional assessment is still the right move, since only an inspection can confirm what’s in the ducts.
When You Need Repair, Not Just Cleaning
Some duct problems aren’t cleaning problems at all. This is where many homeowners get stuck, because most cleaning companies don’t offer repair and most repair companies don’t offer cleaning.
Common scenarios where repair matters:
- Taped joints that have lost adhesion and are leaking air into walls or attic space
- Disconnected flex duct at a plenum or trunk connection
- Crushed or kinked flex sections that restrict airflow
- Tears in the inner liner of flex duct, often from pest activity or an earlier DIY attempt
Cleaning a compromised duct system is a short-term fix. The leaks will keep drawing dust in from unconditioned spaces, and the cleaning won’t hold. Repair capability alongside cleaning means the system gets restored properly, not just cleaned and left to re-contaminate.
Some homes also benefit from upgraded filtration after the ducts are clean. Fitting Honeywell or Aprilaire air-quality products during the same visit means the filtration catches what the cleaned system produces going forward. That combination of cleaning and hardware upgrade is worth asking about when you book.
Common Mistakes to Avoid
- Assuming a strong shop vacuum is good enough. Suction through a narrow hose doesn’t translate to sustained negative pressure on an entire duct run. It’s the wrong measurement for the job.
- Cleaning while the HVAC is running. Airflow spreads loosened debris instead of letting it settle. Turn the system off before any cleaning attempt.
- Using stiff brushes on flex duct. The inner liner tears easily, and once it’s damaged, debris catches in the tear permanently.
- Skipping the filter replacement after the cleaning. A clogged filter pulls against the freshly cleaned system and shortens the clean’s useful life. Replace it after, not before.
- Assuming a cheaper quote means the same work. Some low-cost quotes cover surface grilles only, not the interior of the ducts. Ask exactly what’s included before comparing prices.
- Ignoring musty odors. Odors that persist after cleaning might point to moisture or contamination in a place the cleaning didn’t reach, such as a disconnected duct section.
- Putting off dryer vent maintenance. Dryer vent lint buildup is a fire risk and needs its own treatment, separate from the air duct system.
See the difference
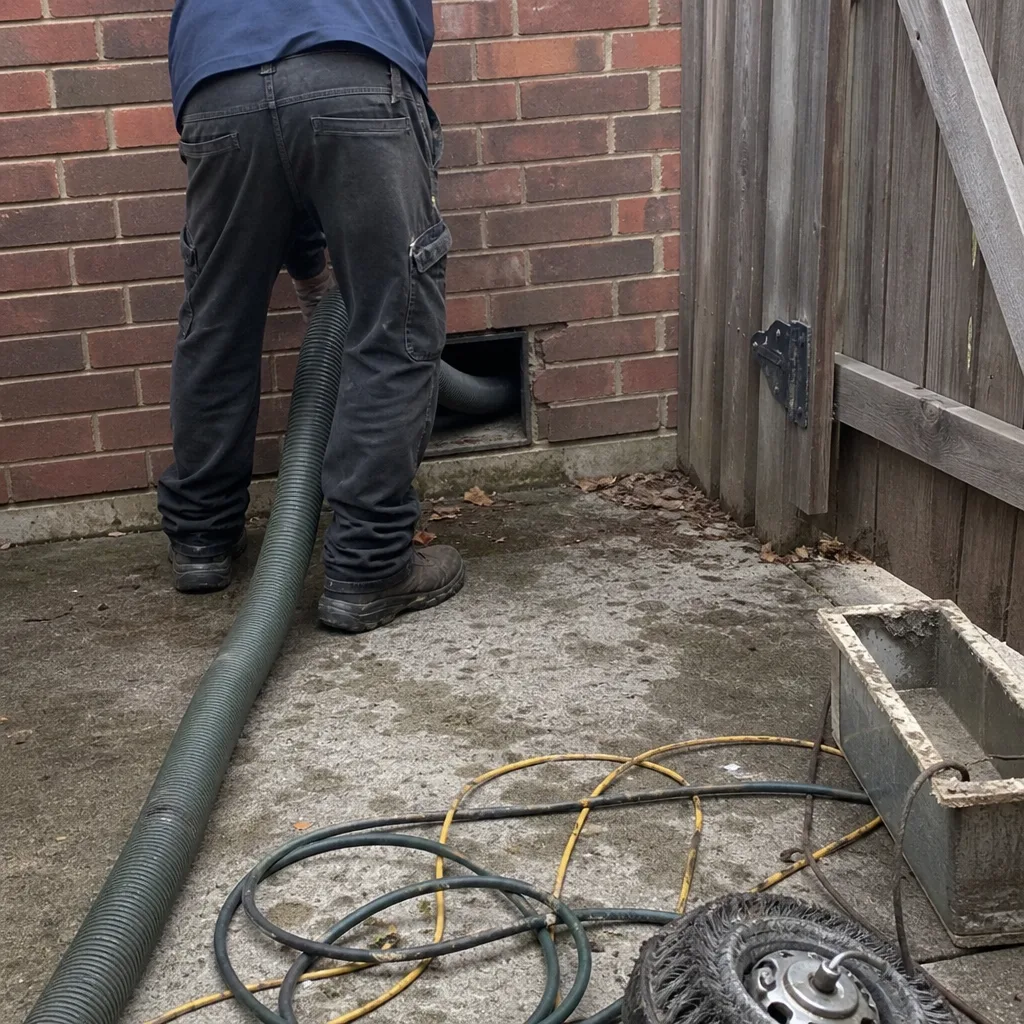 Before
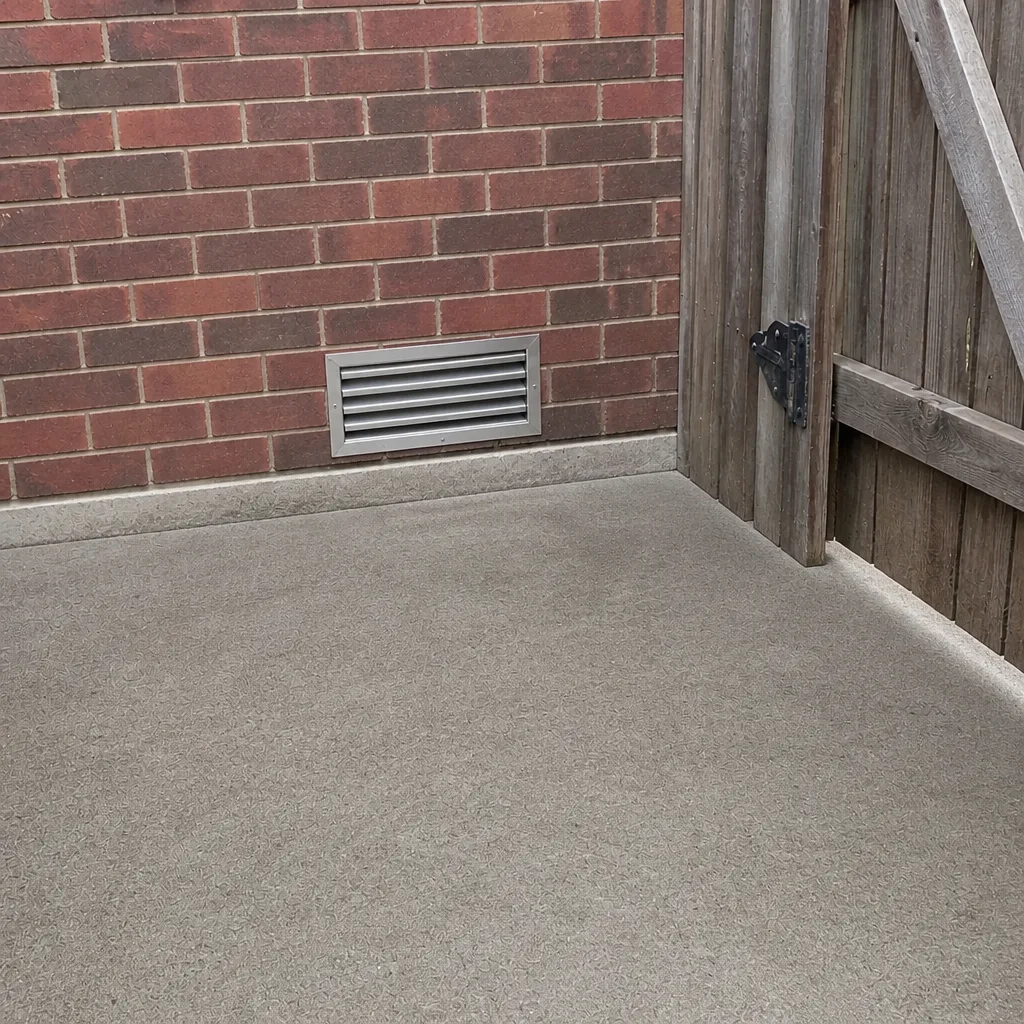 After
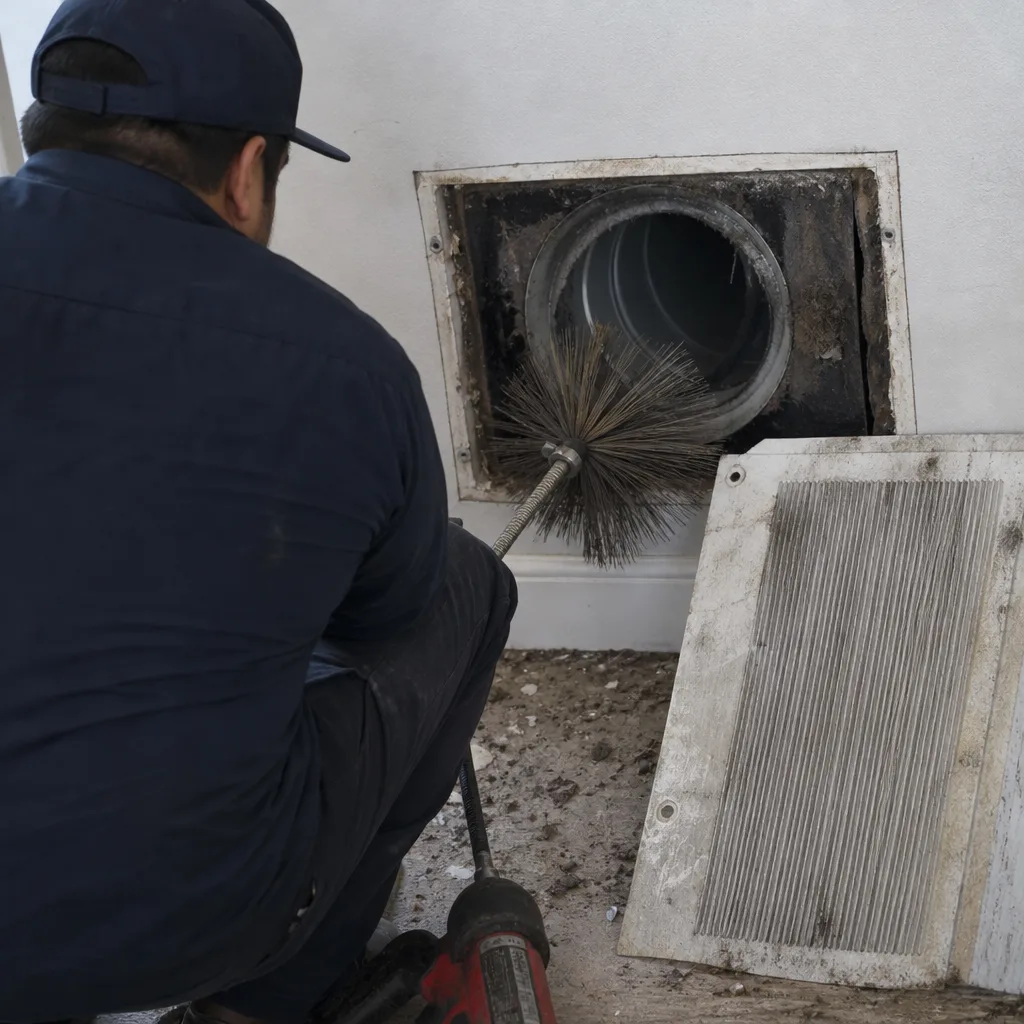 Before
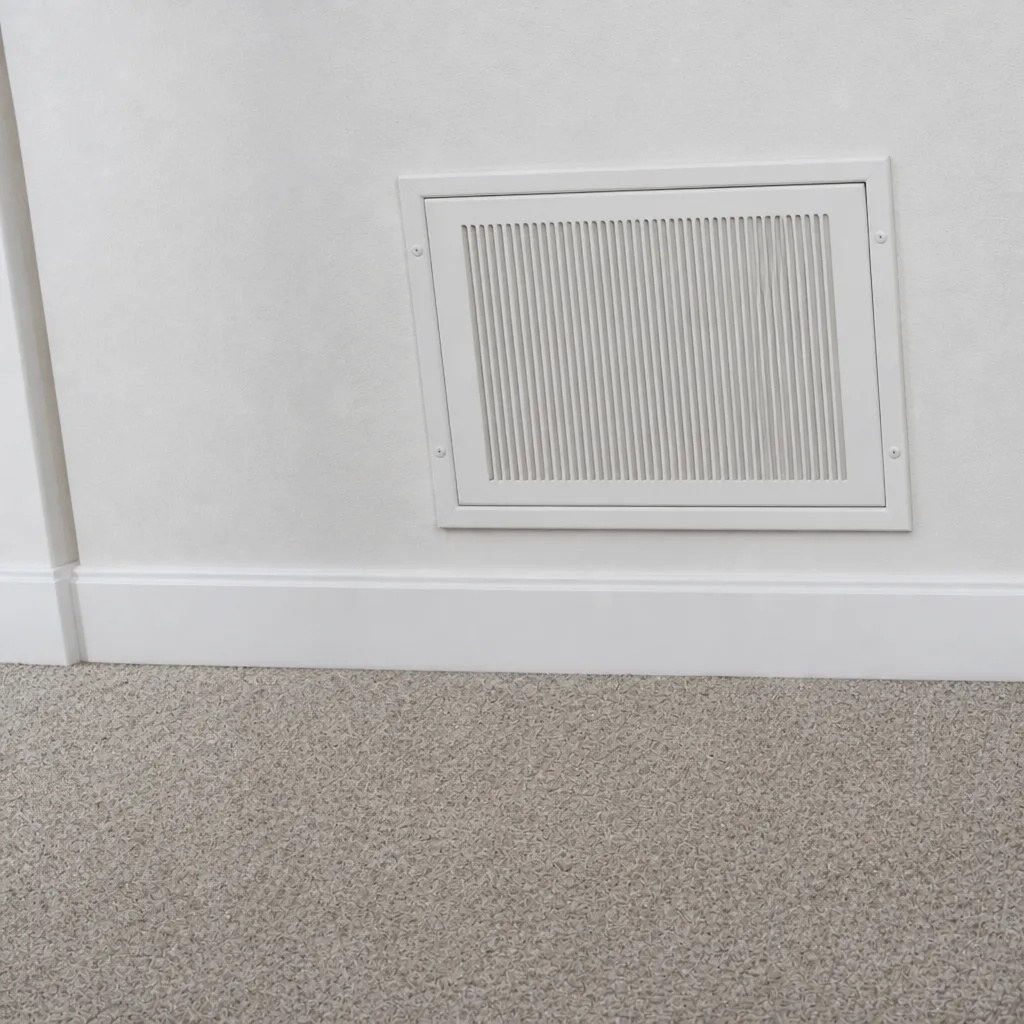 After
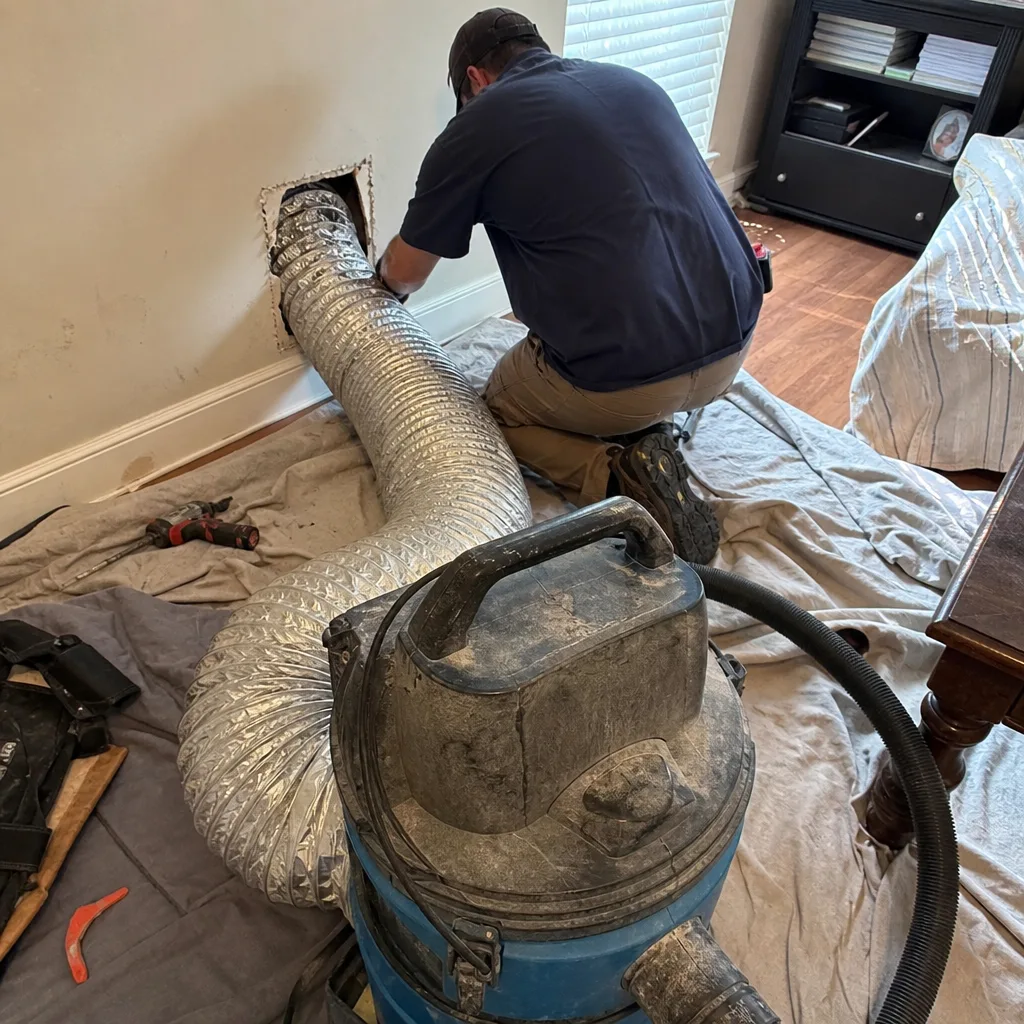 Before
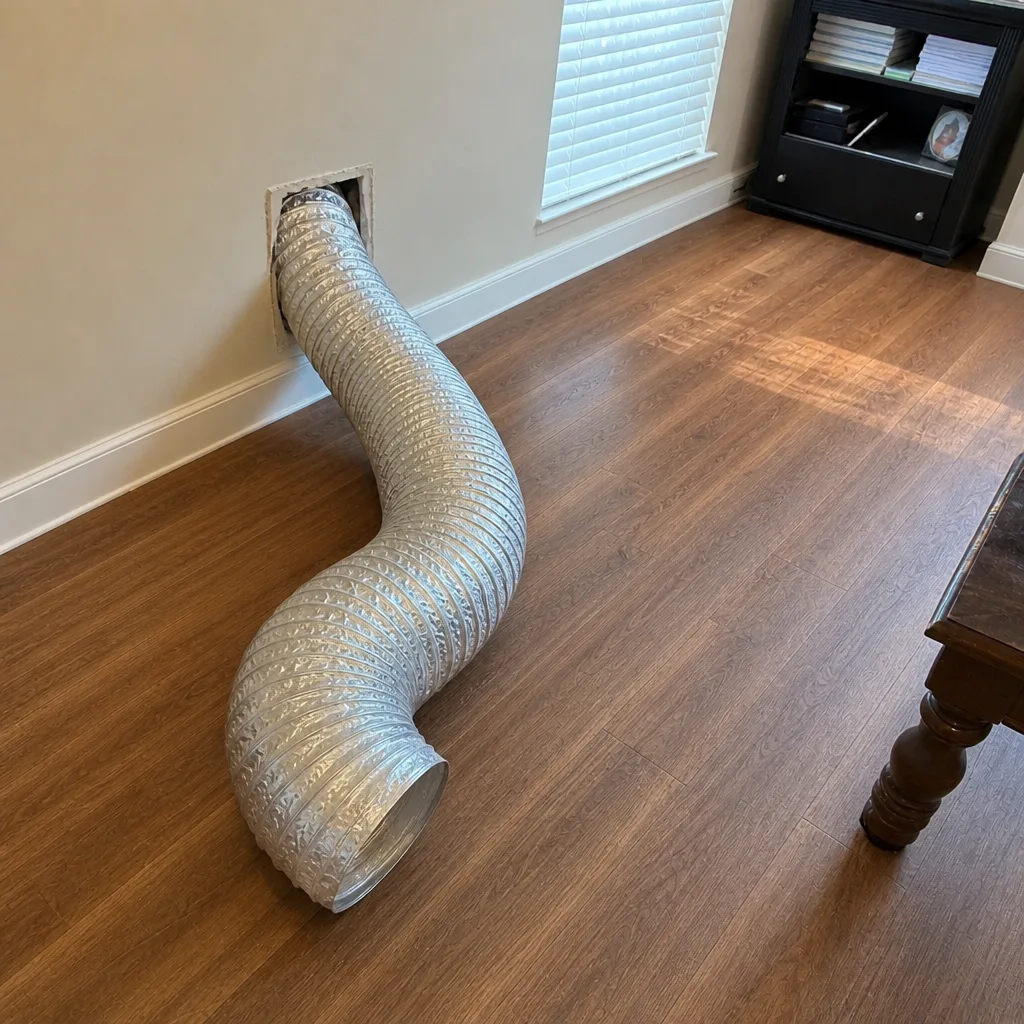 After
When to Call a Professional
Call a professional if any of these apply: visible buildup just inside your registers, musty odors when the system runs, uneven airflow between rooms, a system that hasn’t been serviced in many years, a home that has had recent remodeling, or a DIY attempt that left more dust behind than before. If you’re noticing allergy symptoms that seem worse indoors, or if you’ve spotted loose duct joints, that’s also a call worth making. Duct Cleaning Richardson offers free estimates in Richardson. Call (877) 741-8677. We answer 24/7. Fast dispatch from 7am to 7pm, Sunday through Friday.
Frequently Asked Questions
For light surface dust on grilles and filters, yes. For the interior of the duct system, no. Residential vacuums can’t hold the negative pressure needed to capture dislodged debris, so a DIY attempt often spreads contamination instead of removing it. Call (877) 741-8677 for an exact quote on professional cleaning. Estimates are free.
Cost depends on the size of the home, the number of systems, and how much contamination is present. The only honest answer is a written estimate based on your specific system, not a flat teaser price. Ask for the estimate to spell out what’s included, and confirm before-and-after photos are part of the job. Call (877) 741-8677 for a free estimate.
Usually because they cover less. A low quote often means surface cleaning of easy-to-reach grilles rather than the full duct interior, or a shop-vac setup rather than purpose-built equipment. Compare quotes on scope, not on headline price, and ask what equipment will be used. Call (877) 741-8677 to talk through what a real cleaning involves.
Ask for before-and-after photos of your own ducts. That’s the single most reliable way to verify. A proper cleaning leaves visible evidence of what was removed. If a company can’t provide photos, that’s a warning sign. Call (877) 741-8677 and we’ll walk you through what to expect.
There’s no fixed schedule that fits every home. Homes with pets, allergy sufferers, recent remodeling, or a long gap since the last cleaning usually need it sooner. In a hot climate like Richardson’s, where the AC runs heavily, the system pulls more particulate in. If you’re unsure, a professional inspection is the honest starting point. Call (877) 741-8677 for a free assessment.
Sometimes, but not always. Uneven airflow can come from contamination blocking a run, disconnected or crushed duct sections, or a system imbalance. Cleaning helps when buildup is the cause. If the issue is damaged or disconnected ductwork, repair is the right fix. Call (877) 741-8677 and we can assess which applies to your home.
The Bottom Line
The DIY vs professional question comes down to equipment, not effort. Residential vacuums don’t generate the static pressure needed to capture dislodged debris, which is why DIY duct cleaning often redistributes contamination instead of removing it. You can handle grilles, filters, and visual inspections yourself. For the inside of the duct system, professional equipment is the difference between a clean result and a worse one. If your Richardson home shows persistent dust, odors, or uneven airflow, a free estimate is the sensible next step. Call (877) 741-8677. We answer 24/7. Fast dispatch from 7am to 7pm, Sunday through Friday.
Our technicians have up to 15 years of experience cleaning and repairing duct systems.
Written by the team at Duct Cleaning Richardson.